How to remove shoe insoles: 3 Easy method
Welcome to our blog post on how to remove shoes insoles! Tired of uncomfortable shoe insoles cramping your style?

Whether you’re looking to replace them with new ones or just need a breather for your feet, knowing how to remove shoe insoles properly is key.
Let’s dive into the different methods and tips to make this process a breeze!
Common reasons for removing shoe insoles

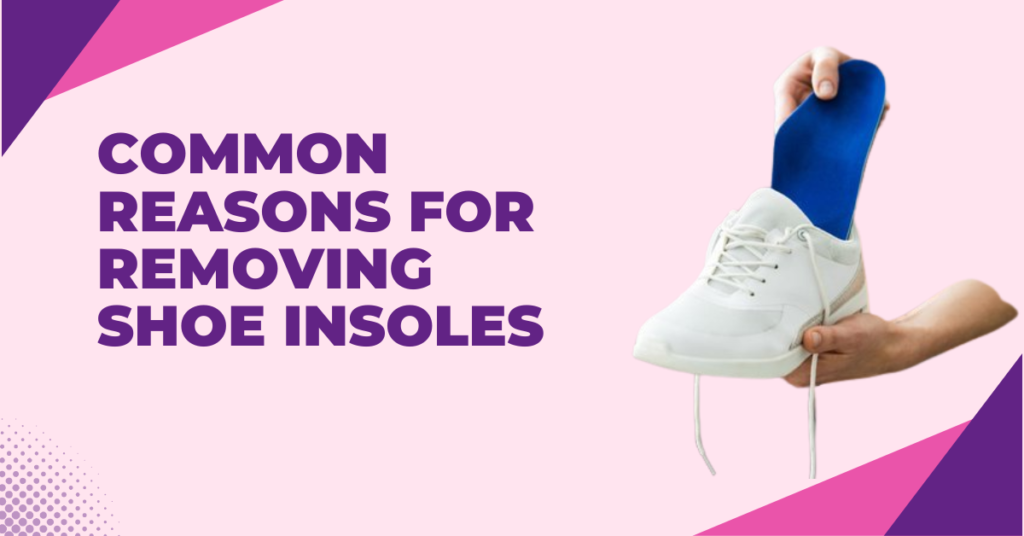
Uncomfortable shoe insoles can cause more harm than good. They may be worn out, providing insufficient support for your feet.
Over time, sweat and bacteria can build up, leading to unpleasant odors that just won’t quit. Additionally, some shoes come with generic insoles that don’t cater to individual foot needs, making them uncomfortable for long-term wear.
Removing shoe insoles can also be necessary when you want to customize your footwear for a better fit or insert orthotic inserts for improved support.
It’s essential to ensure your feet are well taken care of by addressing any discomfort caused by inadequate or worn-out insoles promptly.
Different types of shoe insoles and their purposes
When it comes to shoe insoles, there are various types designed to cater to different needs. Memory foam insoles conform to the shape of your foot for personalized comfort and cushioning.
Gel insoles provide excellent shock absorption, making them ideal for high-impact activities like running or hiking.
Orthotic insoles offer arch support and help alleviate foot pain caused by conditions like plantar fasciitis. In contrast, heated insoles keep your feet warm during cold weather or outdoor winter sports.
Odor-controlling insoles are perfect for keeping your shoes fresh and free from unpleasant smells.
Athletic performance insoles improve stability and reduce fatigue during sports activities. Work boot insoles provide extra support for long hours on your feet at work.
Understanding the different types of shoe insoles can help you choose the right one based on your specific needs and lifestyle requirements.
3 Methods to removing shoe insoles:
Below are the 3 easy methods to remove shoe insoles
Method 1: Using your hands
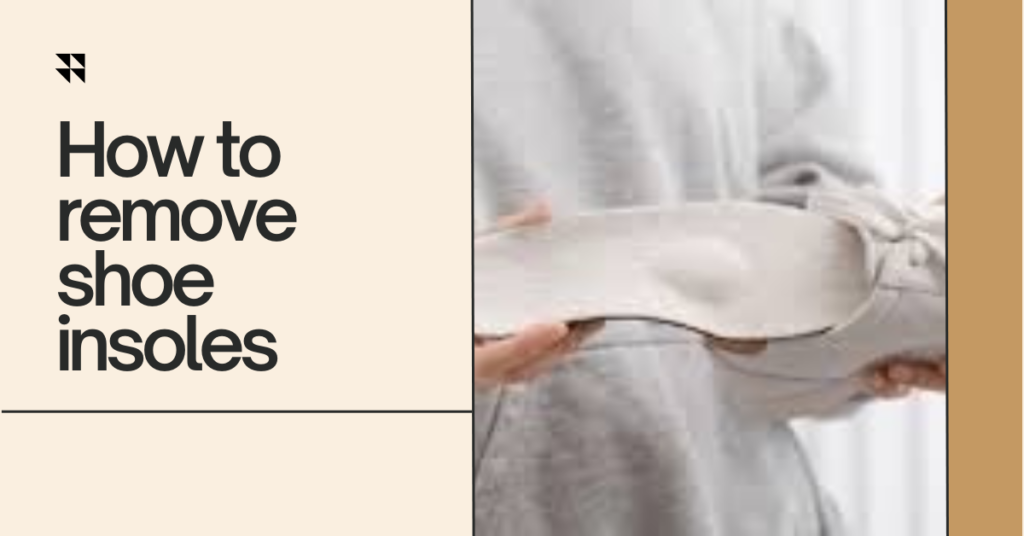
When it comes to removing shoe insoles, using your hands can be a simple and effective method. Start by loosening the edges of the insole with your fingers, gently pulling it away from the shoe’s interior.
If the insole is glued down, take care not to tear or damage it while slowly working your way around the entire perimeter. Applying some pressure and wiggling motions can help loosen stubborn insoles without causing harm to either the shoe or the insole itself.
Remember to work patiently and steadily, avoiding any sudden jerks that could rip or stretch the material. By using your hands tactfully, you can often remove shoe insoles cleanly and efficiently without needing any extra tools or techniques.
So next time you need to switch out those old worn-out inserts for fresh ones or orthotic replacements, trust in the power of your own two hands for a hassle-free removal process!
Method 2: Using pliers or tweezers
When it comes to removing shoe insoles, using pliers or tweezers can be a handy technique. Start by gently lifting the edge of the insole with your fingers to create some space. Then, carefully slide the tip of the pliers or tweezers underneath the insole.
Be cautious not to apply too much pressure as you want to avoid damaging the shoe material. Slowly work your way around the perimeter of the insole, gradually loosening it from its adhesive grip.
If you encounter any resistance, take your time and adjust your grip on the pliers or tweezers for better control. Patience is key when using this method to ensure a clean removal without causing any harm to your shoes.
Once you have successfully loosened the entire insole, gently pull it out while continuing to support and guide it with the pliers or tweezers. And there you have it – a simple yet effective way to remove stubborn shoe insoles!
Method 3: Freezing the shoes
Freezing your shoes to remove insoles may sound unconventional, but it can be an effective method. Start by placing your shoes in a sealable plastic bag to protect them from moisture during the freezing process. Make sure the bag is securely closed to prevent any water damage.
Next, place the bagged shoes in the freezer and leave them overnight. The cold temperature will cause the insoles to shrink and become more rigid, making them easier to remove without causing damage to the shoe itself.
Once you take your shoes out of the freezer, let them sit at room temperature for a few minutes before attempting to remove the frozen insoles with gentle pressure or twisting motions. Remember not to force them out too aggressively as this could harm both the insole and shoe material.
After successfully removing the frozen insoles, allow your shoes some time to return to their normal temperature before wearing them again. This method can be particularly useful for stubborn or glued-in shoe inserts that are challenging to take out using other techniques.
Tips for preventing damage to shoes when removing insoles
When removing shoe insoles, it’s essential to take precautions to prevent damaging your shoes. One tip is to be gentle and patient during the removal process. Avoid rushing or using excessive force that could tear the shoe material.
Another tip is to use the right tools for the job. Pliers or tweezers can help grip and lift stubborn insoles without causing harm to the shoe interior. Be careful not to scratch or puncture the inner lining while using these tools.
Additionally, consider freezing your shoes before attempting to remove the insoles. Placing them in a plastic bag and then into the freezer can stiffen up any adhesives, making it easier to peel off the insoles without leaving behind sticky residue.
Always clean and dry your shoes properly after removing the insoles. This will help maintain their shape and condition for future wear.
When to replace shoe insoles
When it comes to the lifespan of your shoe insoles, there are a few key indicators that signal it might be time for a replacement. One clear sign is when the insoles start to lose their shape and cushioning, leading to discomfort or pain while walking or standing. Another factor to consider is the overall wear and tear on the insoles – if you notice visible signs of damage like cracks, tears, or flattened areas, it’s probably best to swap them out.
Additionally, if you’ve been using the same pair of insoles for an extended period of time without cleaning them regularly, they may accumulate odor-causing bacteria that can’t be effectively removed. This not only affects hygiene but can also impact the effectiveness of the cushioning and support provided by the insoles.
Regularly inspecting your shoe insoles for these signs of wear and tear can help you determine when it’s time for a replacement. Remember, replacing worn-out insoles is essential for maintaining foot comfort and overall health.
Alternatives to removing shoe insoles
If you’re looking for alternatives to removing shoe insoles, there are a few options to consider. One alternative is to add a thinner replacement insole on top of the existing one. This can provide extra cushioning and support without fully removing the original insole.
Another option is to trim the current insoles to better fit your shoes or foot shape. By carefully cutting away excess material, you can customize the fit while still keeping some of the original support.
You could also try using specialty socks or padding inserts designed for comfort and support. These products can help alleviate discomfort without having to remove the existing insoles.
Alternatively, if your main concern is odor or moisture absorption, using deodorizing sprays or powders inside your shoes may be a helpful solution. These products can freshen up your footwear without requiring you to remove and replace the insoles.
Conclusion
As we wrap up our discussion on how to remove shoe insoles, it’s evident that there are various methods and reasons for doing so. From enhancing comfort to addressing foot issues, removing insoles can make a significant difference in your footwear experience.
Understanding the different types of shoe insoles and their purposes can help you choose the right ones for your needs. Whether you prefer cushioned inserts for added support or orthotic insoles for better alignment, selecting the appropriate type is crucial.
When it comes to actually removing the shoe insoles, using your hands, pliers or tweezers, and even freezing the shoes can be effective techniques. It’s essential to proceed with caution to avoid damaging your footwear during this process.
Remember that knowing when to replace shoe insoles is key to maintaining foot health and overall comfort. Regularly inspecting them for signs of wear and tear will ensure that they continue to provide adequate support.
While removing shoe insoles may not be necessary for everyone, exploring alternatives such as custom orthotics or specialized footwear can offer additional solutions tailored to individual needs. By staying informed and proactive about caring for your feet, you can enjoy improved comfort and mobility every step of the way.
Q: How often should I replace my shoe insoles?
A: It is recommended to replace your shoe insoles every 6-12 months, depending on the level of wear and tear.
Q: Can I wash my shoe insoles?
A: Yes, you can wash most shoe insoles with mild soap and water. Make sure to let them air dry completely before placing them back into your shoes.
Q: Are there any natural alternatives to removing shoe insoles?
A: One natural alternative is using a mixture of baking soda and essential oils to freshen up your shoes without having to remove the insoles.


